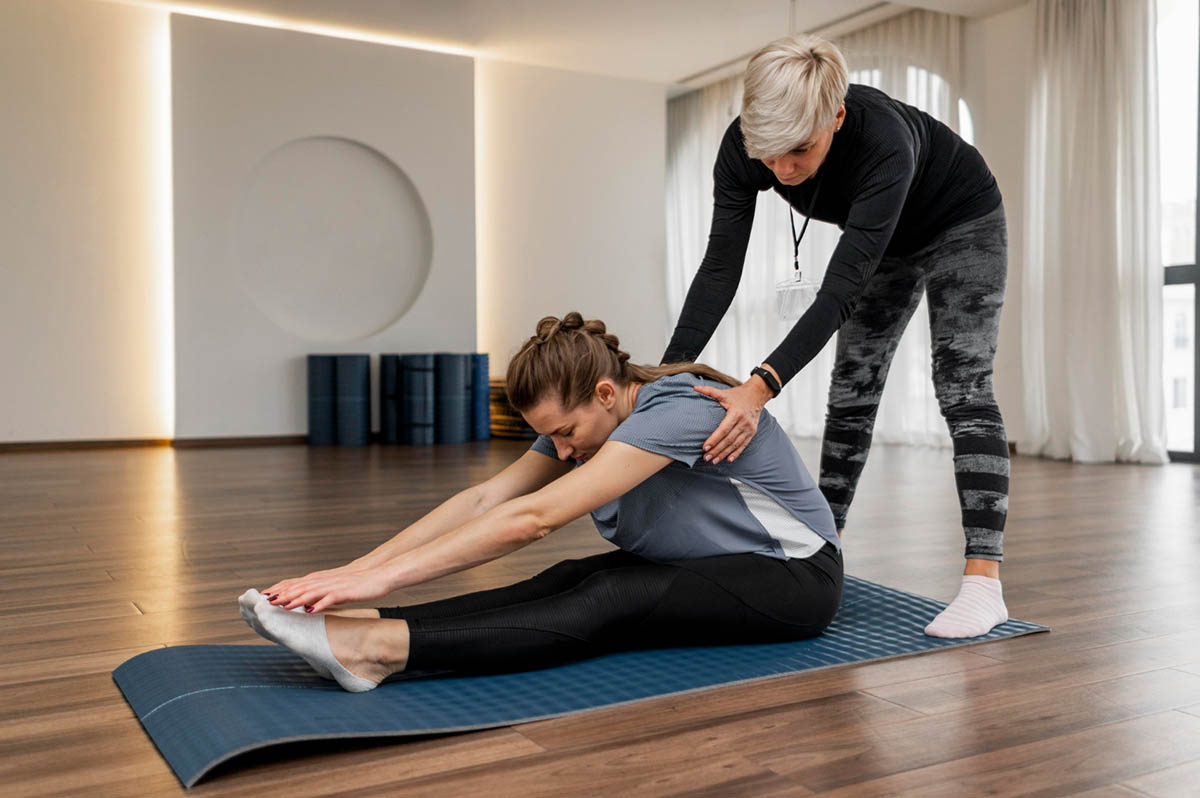
Lower back pain is a common issue that affects millions of people worldwide, disrupting daily activities and reducing quality of life. In the United States, there are approximately 2.06 million cases of low back pain annually, with an incidence rate of 1.39 per 1,000 people. One of the most effective ways to alleviate lower back pain is through physical therapy exercises for lower back pain. These exercises are designed to strengthen the core muscles, improve neuromuscular control of trunk and pelvic muscles, and reduce discomfort. In this blog, we will explore common causes of lower back pain, the goals of physical therapy exercises, precautions to take before starting, and a detailed guide to ten of the best physical therapy exercises for lower back pain that can provide relief.
Common Causes of Lower Back Pain
Lower back pain can stem from a variety of sources, including poor posture, sedentary lifestyles, muscle strains, or more severe conditions like herniated discs and degenerative disc disease. Heavy objects, spinal stenosis, and cauda equina syndrome are also significant contributors. Understanding the underlying cause is crucial for effective treatment and prevention.
The Goals of Physical Therapy Exercises for Lower Back Pain
Physical therapy exercises for the lower back aim to achieve several key goals:
- Strengthening Core Muscles: Enhancing the strength of the abdominal muscles and gluteal muscles to support the spine. Also, restore balance in muscles surrounding pelvis and lower back, and lower extremities.
- Reducing Pain and Inflammation: Utilizing exercises and stretches to decrease the intensity of pain.
- Improving Posture and Body Mechanics: Correcting posture to prevent further strain on the lumbar spine.
- Preventing Future Injuries: Building overall strength and flexibility to reduce the risk of future injuries.
Precautions Before Starting the Exercises
Before beginning any exercise program, it’s important to take certain precautions such as the following:
- Consult with a Healthcare Provider: Ensure the exercises are appropriate for your specific condition. Many healthcare providers recommend physical therapy for both acute and chronic back or neck pain, provided the acute pain does not require urgent medical or surgical treatment.
- Start Slowly: Begin with low-intensity exercises and gradually increase as tolerated.
- Warm-Up: Prepare your muscles with light aerobic activities like walking or using a stationary bike.
- Use Proper Form: Maintain a neutral position and avoid movements that make pain worse.
- Listen to Your Body: Avoid exercises that cause pain or exacerbate symptoms. The positive aspect of acute back or neck pain is that most patients experience an 80 to 90 percent improvement within six weeks.
10 Physical Therapy Exercises for Lower Back Pain

Incorporating specific exercises into your routine can significantly alleviate lower back pain and improve your overall spinal health. Here are ten highly effective physical therapy exercises for lower back pain that can help you build strength, enhance flexibility, and reduce discomfort.
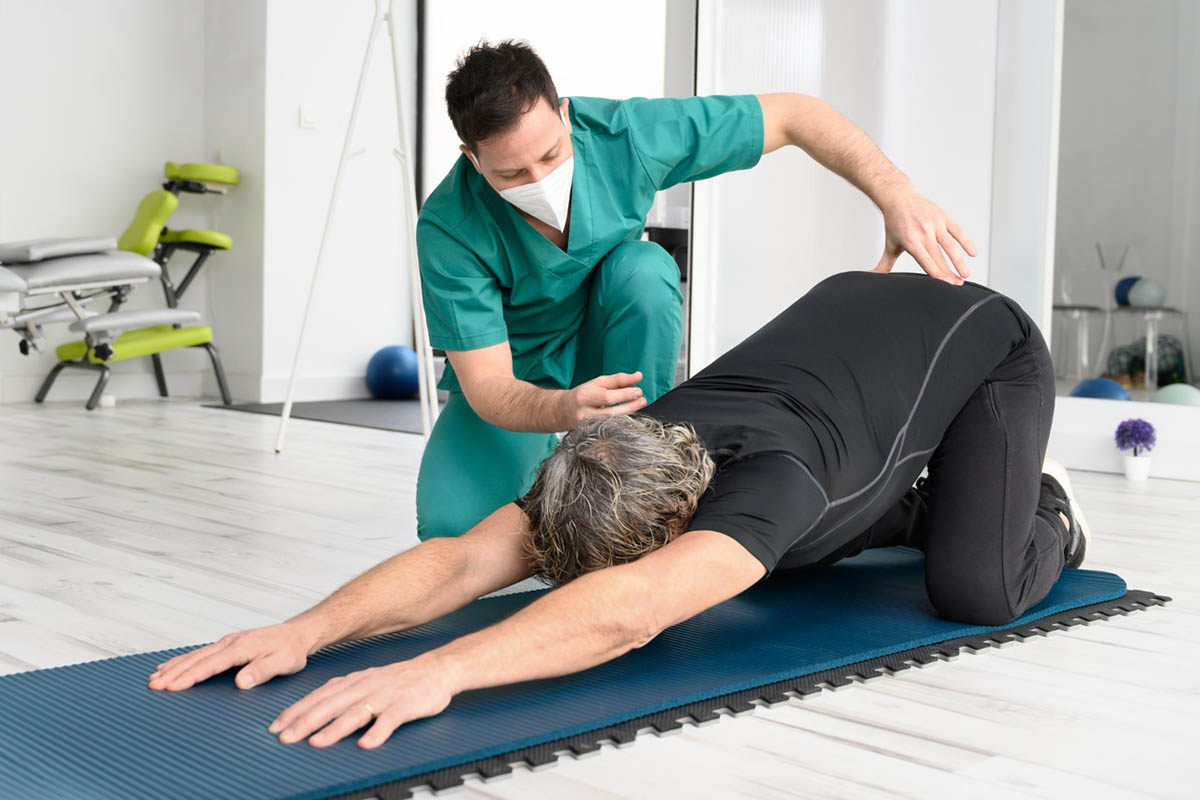
1. Hand to Heel Rocks (HHR)
HHR is a gentle motion that retrains the hip to move independently from the pelvis, to restore control and sustain a neutral low back curve, simultaneously.
- Starting Position: on all-4’s (hands and knees)and knees spread apart.
- Movement: gently rock back toward your heels while allowing the arms to reach forward, while pointing your bottom directly back without rounding your back.
- Return: continue to rock back and forth, keeping abdominals drawn-in, using a count of four-second intervals in each direction: back and forth.
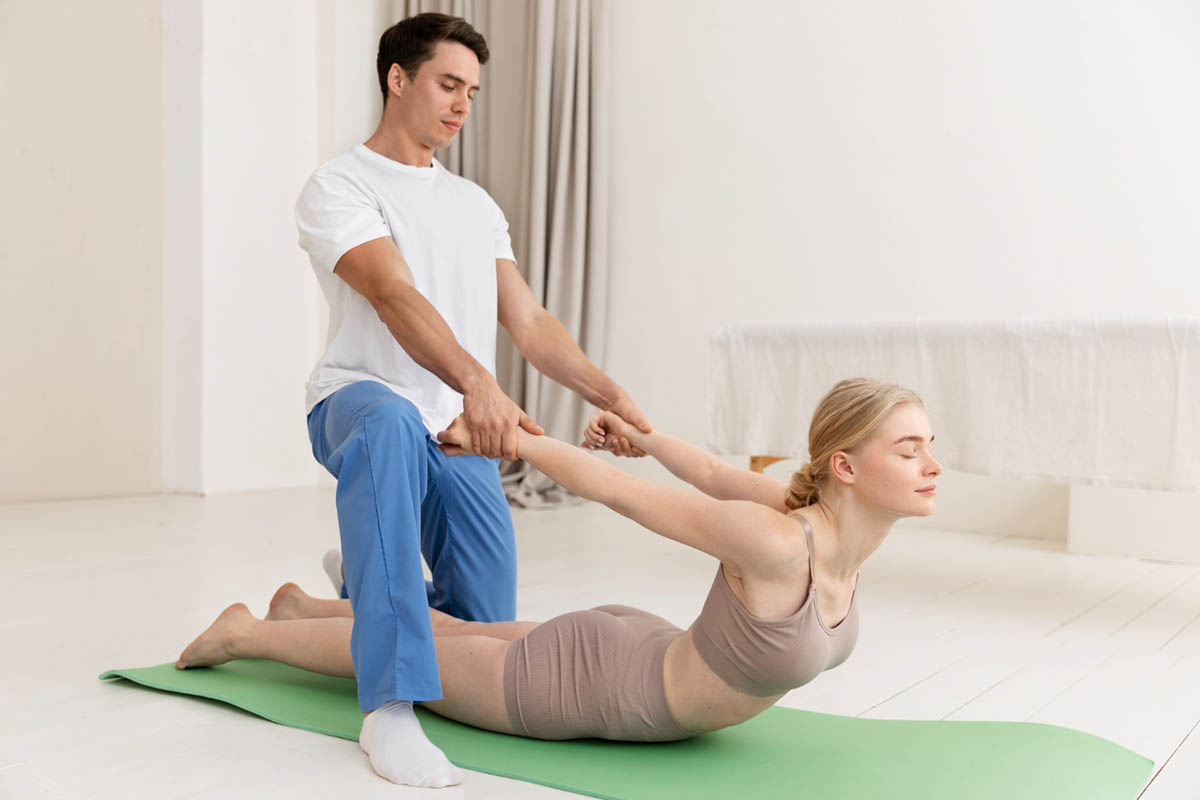
2. Prone Superman’s
- Starting Position: Lying on your stomach with a pillow under the hips.
- Movement: tighten the abs and glutes simultaneously, slightly lift one leg, turn the head and lift it to the same side, then lift the opposite arm.
- Hold: Maintain this position for a few seconds, then return to the starting position and switch sides.
3. Supine Bent Knee Fall-outs
This also improves coordination of moving the hips independently from the pelvis
- Starting Position: lying on your back, knees bent with feet on the surface.
- Movement: gently tighten abs and glutes simultaneously (sustaining proper curved neutral-spine), let one leg slowly lower to the side maintaining the pelvis does not rock with it, then slowly return to starting position. Then, the same with the opposite leg, alternating continues.
- Pace: perform each knee fall-out for a count of 4 seconds out, then 4 seconds back.
4. Supine Marching
This helps to begin to simulate walking, alternating each leg using the hip flexors, while controlling the independent movements of the hips and pelvis from each other.
- Starting Position: lying on your back, knees bent with feet on the surface.
- Movement: gently tighten abs and glutes simultaneously (sustaining the proper curved neutral-spine), then gradually lift one foot off of the surface keeping the pelvis still, then return it and perform the same with the other leg. Repeat alternately.
- Purpose: to further train the hip flexors to contract without rotating the pelvis and protecting the spine from over-rotating while walking.
5. Bridges
Bridges strengthen the glutes, hamstrings, and lower back.
- Starting Position: Lie on your back, knees bent with feet on the surface.
- Movement: Contract the abs/glutes simultaneously, lift the hips and torso as a unit (do not curl your low back) toward the ceiling, hold this position keeping muscles engaged throughout, then lower the same way.
- Hold: Maintain this position for a few seconds, then lower back down.
6. Heel Slides
This movement increases control of the hip/pelvic independent movements from each other, much in the same way as the marching exercise, but it is a level that is easier if unable to successfully lift each foot without rotating the pelvis.
- Starting Position: lying on your back, knees bent with feet on the surface.
- Movement: gently tighten abs and glutes simultaneously (sustaining neutral spine), then gradually slide one foot straightening the knee, then slide it back to starting position. Keep hands in contact with the pelvis to make sure the pelvis does not rotate. Repeat alternately.
- Repeat: Perform this sequence for a designated number of repetition, focusing on stabilizing the lumbar spine.
7. Prone Press-ups
The Prone Press-ups help re-establish extension (back bending) appropriately primarily for a condition where the low back is stuck in a bent forward position.
- Starting Position: lie on your stomach, place your hands as you would for a push-up.
- Movement: press the head, chest, and stomach up, while keeping your hips down.
- Pace: perform the press-ups, and the return, on a pace of about 4 seconds up, and 4 seconds back down to starting position. Repeat this for a designated number of repetitions, or until symptoms are reduced/resolved.
8. Seated Hip Hinges
This movement again enhances the control of the torso and pelvis moving independently from the hips/lower extremities. Prepares the body for controlling the curved neutral-spine position for bending/lifting activities.
- Starting Position: sit on the edge of the chair/bed, with your legs and feet spread wide and toes slightly turned outward in a fan-like direction.
- Movement: sitting up tall (upright with abs drawn-in, low back in neutral-position, slowly begin to bring the torso (leading with the chest) forward, tip the pelvis forward, and proceed until the ‘nose is over the toes’. Stop at that point, then tighten the glutes to engage the hip extension and return the torso to starting position. Pretend the pelvis is a bucket and it is being tipped forward to pour out of the front. Do NOT let the low back bend to achieve this position.
- Pace: perform these at a rate of 4 seconds forward and then 4 seconds back to starting position. Repeat for a designated number of repetitions or time.
9. Standing Hip Hinges
This movement is a progression from the previous exercise. Helps with transitions from sitting > to < standing, as well as the proper lifting technique.
- Starting Position: standing with feet spread wide and toes turned out in a fan-like pattern. Hands on hips and knees unlocked.
- Movement: abs drawn-in, hips slightly bent with low back curved in neutral-position, begin leaning forward much like the sitting position in the previous exercise, let the hip move back while the torso comes forward. ‘Nose over the toes’, knees unlocked, contract the glutes, and pull back to starting position.
- Pace: perform these at a rate of 4 seconds forward and then 4 seconds back to starting position. Repeat for a designated number of repetitions or time.
- Hip Hinge Squats
This exercise improves proper position and efficiency for lifting activities – for sport, resistance training, and for chores/work.
- Starting Position: see Standing Hip Hinges
- Movement: see Standing Hip Hinges. Once the forward bend is achieved, with the glutes tight, begin to drop the hips toward the floor and make sure the knees also bend – * Important: keep the torso at the same angle. This will keep the knees from advancing past the toes and will ensure balance over the feet so that the weight is distributed evenly over the middle of the feet. At the bottom of the squat, sustain the glute contraction and body position – return to starting position and come upright keeping the low back in an appropriate curved position.
- Pace: perform these at a rate of 4 seconds down and 4 seconds up to starting position. Repeat for a designated number of repetitions, or until unable to sustain perfect form.
Tips for Success on Physical Therapy Exercises

Maximizing the benefits of physical therapy exercises requires consistency, proper technique, and a holistic approach to health. Here are some essential tips to ensure you achieve the best possible results from your physical therapy regimen.
- Consistency is Key: Perform these exercises regularly to see the best results.
- Listen to Your Body: Avoid pushing through pain to prevent injury.
- Combine Exercises with Other Treatments: Integrate other therapies such as manual therapy, modalities to assist with tissue health recovery, or other mode of care which provides reduction or elimination of symptoms.
- Maintain a Healthy Lifestyle: Incorporate a balanced diet and regular physical activity into your daily routine.
- Monitor Your Progress: Keep track of improvements in pain levels and mobility.
Conclusion
Lower back pain can be debilitating, but with the right approach, relief is achievable. Incorporating these physical therapy lower back exercises into your routine can help strengthen your back, improve neuromuscular control of trunk stabilizers, and reduce pain. Always consult with a healthcare professional before starting any new exercise regimen, and remember to listen to your body to prevent further injury.
At Austin Manual Therapy, we specialize in providing personalized and effective physical therapy in Austin to help you overcome and manage lower back pain. Whether you’re dealing with lower back pain from lifting heavy objects or chronic discomfort, our experienced therapists use advanced manual techniques and customized exercise programs to alleviate pain and restore function. Trust Austin Manual Therapy to guide you on your journey to a pain-free life and help you regain your strength and mobility.
FAQs
Does physical therapy fix lower back pain?
Physical therapy can significantly alleviate lower back pain and improve function, but its effectiveness depends on the underlying cause of the pain and the consistency of the exercises. A well-structured physical therapy regimen can enhance core strength, support spinal stability, and promote tissue healing over a period of time.
What is the best exercise to relieve lower back pain?
The best exercise varies for each individual, but consistency of performing the specific exercises prescribed to each patient by the Fellowship-trained Orthopedic Manual Physical Therapists at Austin Manual Therapy is the best option. These experts target the core muscles, improve neuromuscular control of trunk stabilizers, and reduce tension in the lumbar spine.
How many weeks of physical therapy for back pain?
The duration of physical therapy varies based on the severity of the condition, but many individuals see improvement within 6 to 8 weeks of consistent therapy. A comprehensive exercise program tailored to your needs can help you return to normal activities and maintain a pain-free lifestyle.


